EDIT: Damn it, I think specular in UE and me are cursed. When I was testing this setup I had post processing exposure cranked up, which messed up my results. Turns out that specular expects a value between 0 and 1 which internally is remapped to an F0 ranging between 0 and 0.08 (corresponding to an IOR range of 1.0 to 1.788). So to set up a dielectric material with an IOR of 1.5, just use a spec value of 0.5.
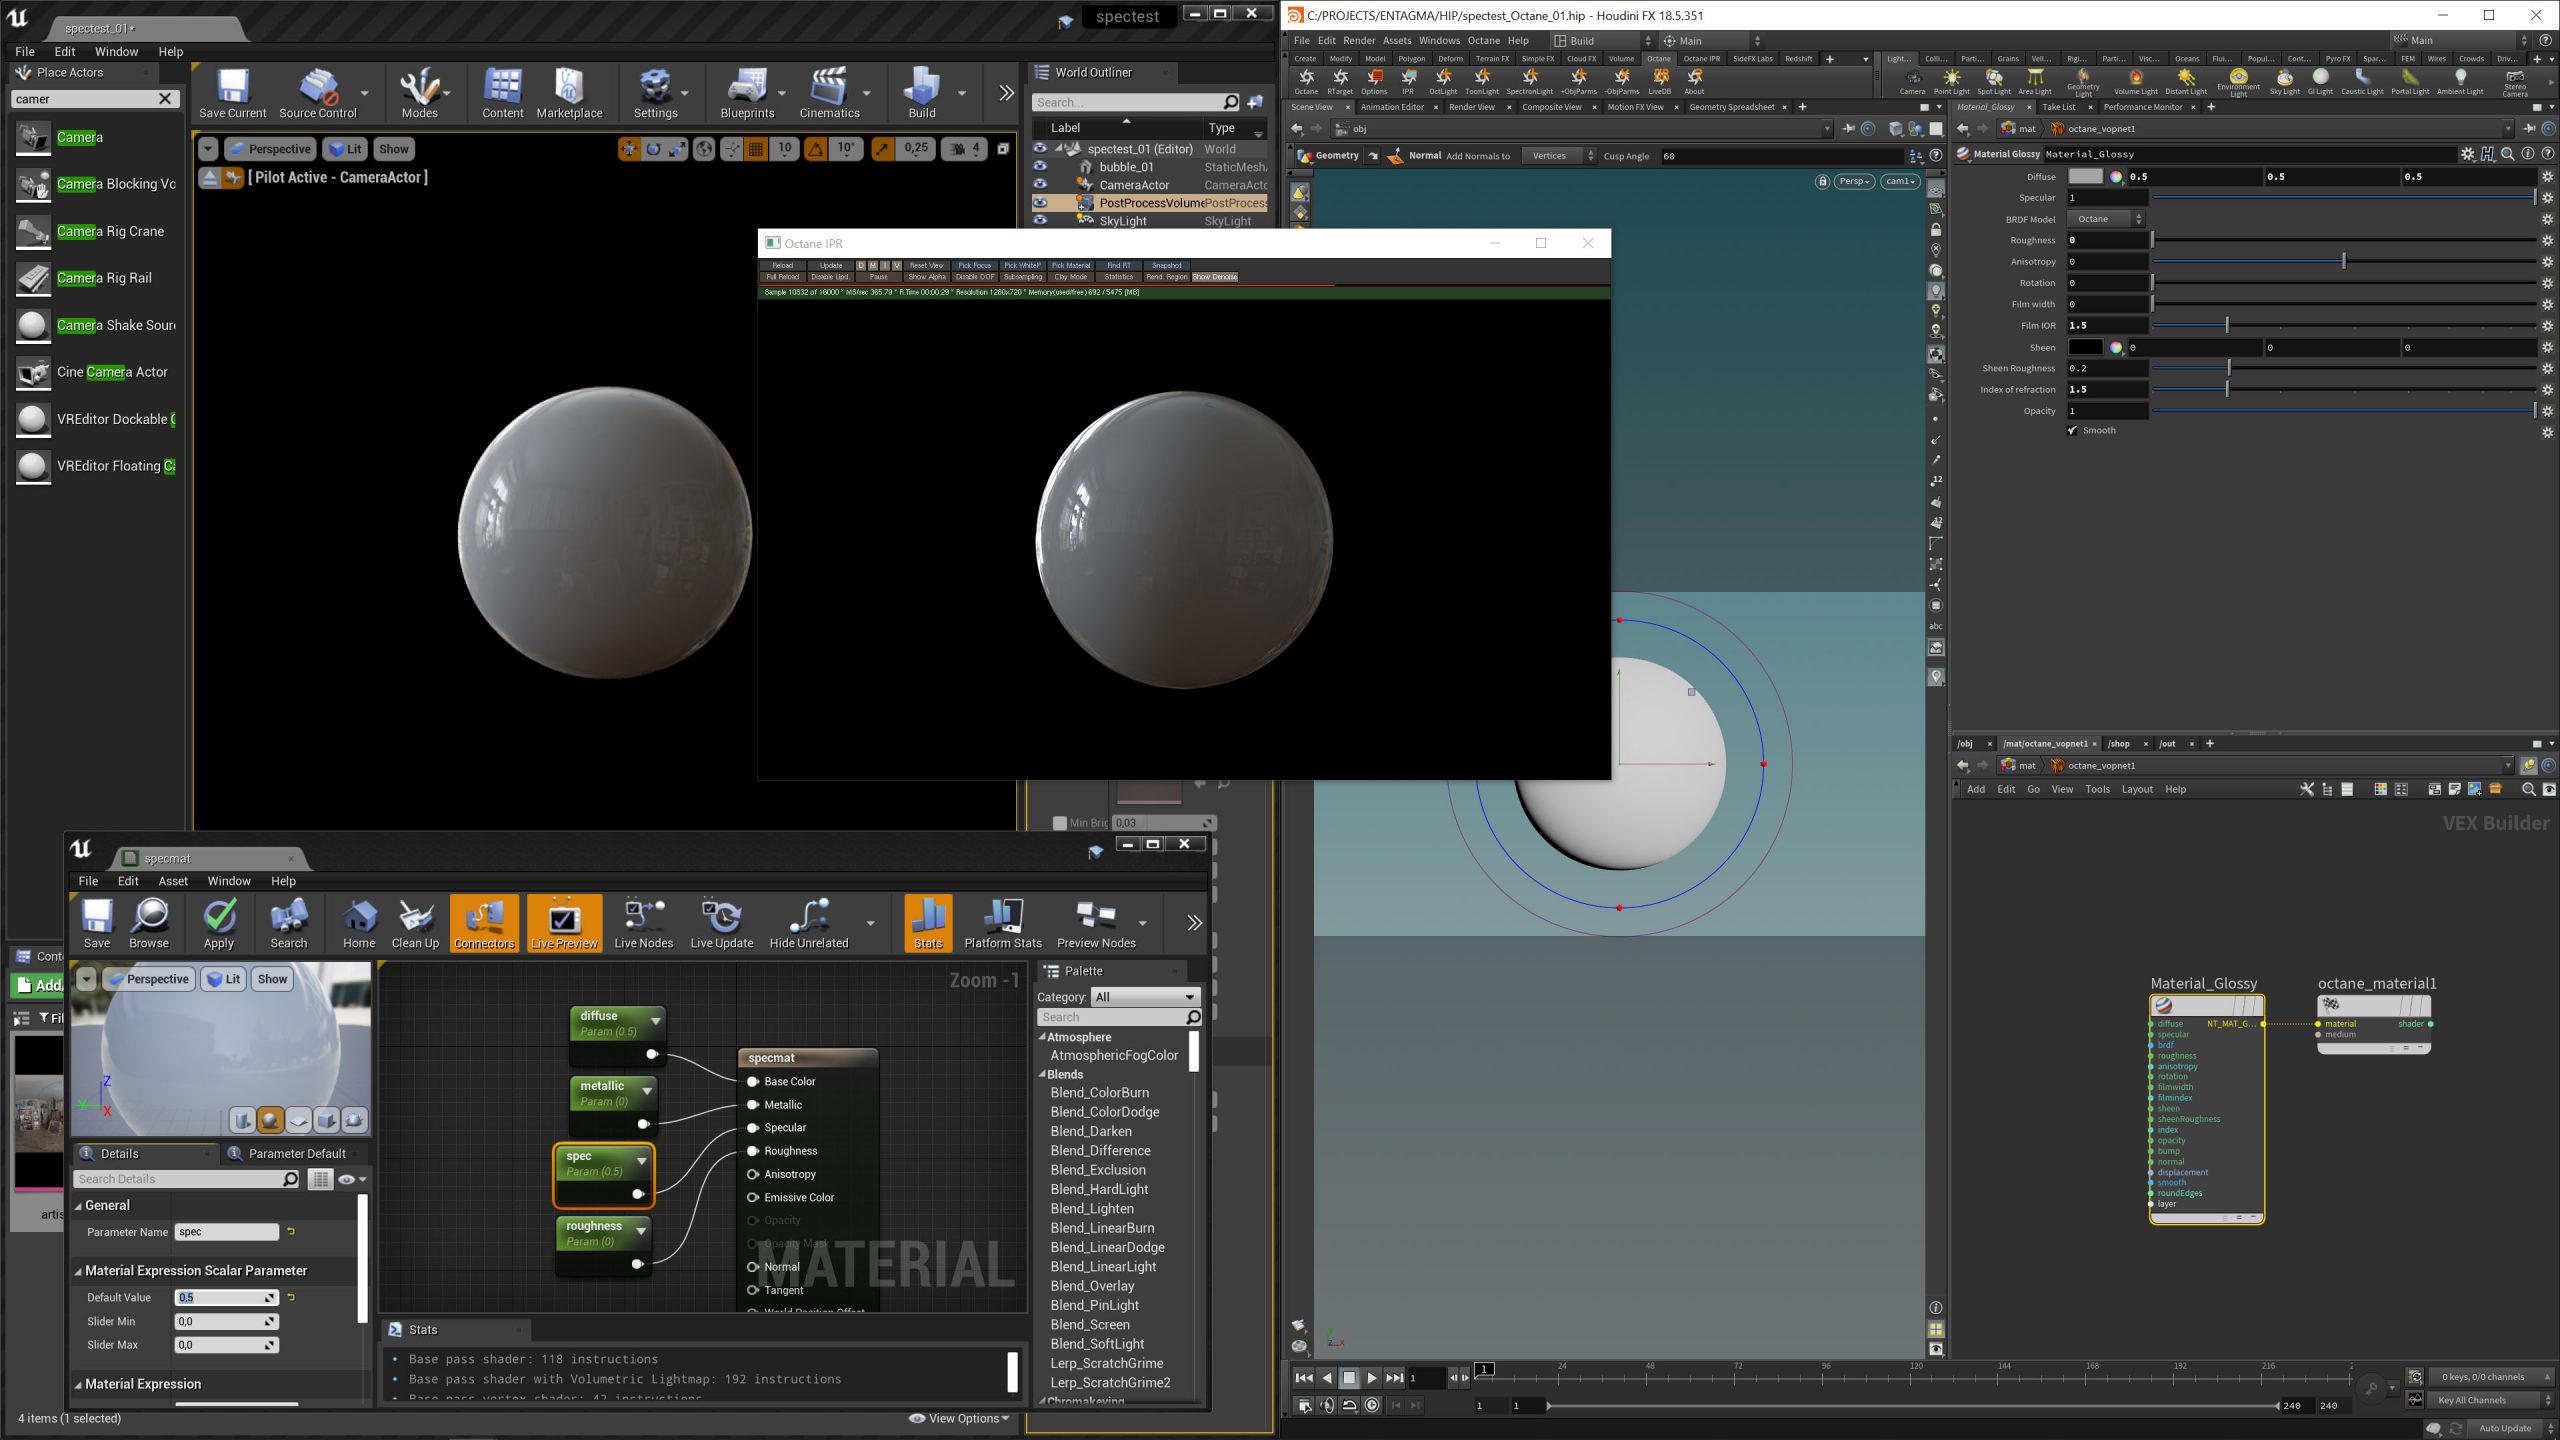
Comparing UE’s Specular with a value of 0.5 to an Octane shader using an IOR of 1.5.
The last part of our sloppy UE series got a bit too sloppy. When setting up materials, Mo made a few assumptions which turned out to be absolutely wrong. Luckily Lucca caught them and pointed out that Mo’s understanding of Unreal’s material specular was totally off.
In this video, Mo goes over what goes on with the specular values in UE’s material node and adds detail to our lego model by building an edge chamfering setup for Lego pieces in Houdini.
Links
Paper: Physically-Based Shading at Disney
Paper: Real Shading in Unreal Engine 4

Really excellent workflow! The only minor improvements I can think of would be to disable auto exposure set min max to 1 on PostProcessVolume and also perhaps make panning motion relative to current zoom level.
Hey, This is a great tutorial, but I can’t download assets of 01(in YouTube description), 02 and 03.