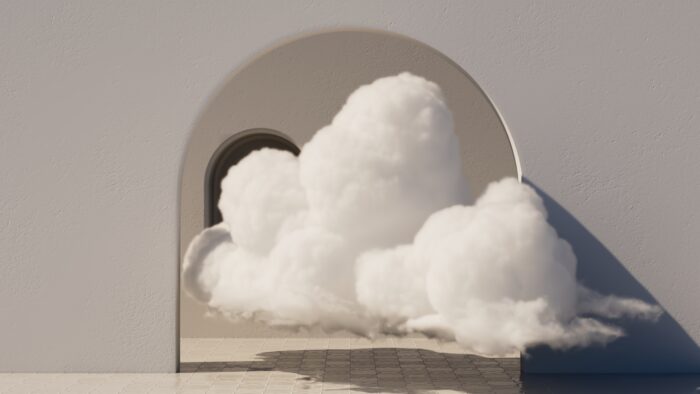
Houdini 20 comes with a completely rebuilt cloud workflow, which makes it a whole lot easier to create a wide variety of realistic clouds. So let’s build one from scratch and take a look at the new cloud shape tools, noises and shaders! Download Project […]
All Posts filed under “Free Tutorials”
New In Houdini 20: Karma – Physical Sky, Thin Walled Transmission, Material Linker And More
In this episode we’ll take the ‘fresh out of beta’ Karma XPU for a spin and talk about the new physical sky, thin walled transmission, material linker, snapshot menu and ACES setup. https://entagma.com/downloads/H20_SopsDopsKarma.zip
New In Houdini 20: DOPs – POP Wind Shadow, Glass Fracture, Pyro Gravity And More
In this episode we’ll take a quick look at the new simulation tools and features in Houdini 20, specifically the new POP Wind Shadow, updates to the Vellum rest blend constraint and vellum brush, the new density controlled gravity in pyro as well as some […]
New In Houdini 20: Feathers 03 – Simulating And Rendering
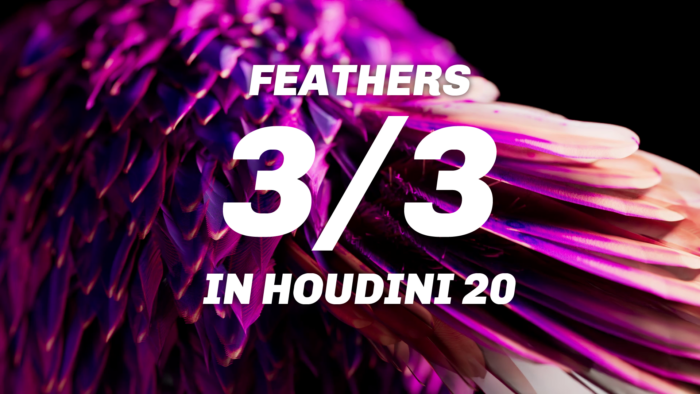
Houdini 20 is out and the literal poster child of this release is the new Feather workflow. And this really is a whole workflow, because it offers tools not only for creating feathers but also for creating a whole plumage, simming and rendering. So, let’s […]
New In Houdini 20: Feathers 02 – Grooming Feathers
Houdini 20 is out and the literal poster child of this release is the new Feather workflow. And this really is a whole workflow, because it offers tools not only for creating feathers but also for creating a whole plumage, simming and rendering. So, let’s […]
New In Houdini 20: Feathers 01 – Creating Feathers
Houdini 20 is out and the literal poster child of this release is the new Feather workflow. And this really is a whole workflow, because it offers tools not only for creating feathers but also for creating a whole plumage, simming and rendering. So, let’s […]
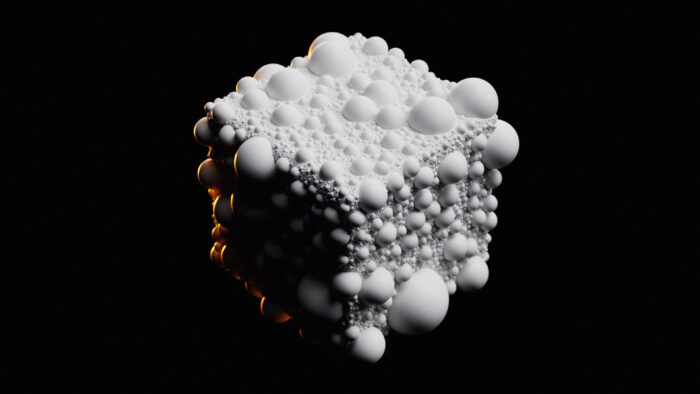
Guest Tutorial: Dart Throwing
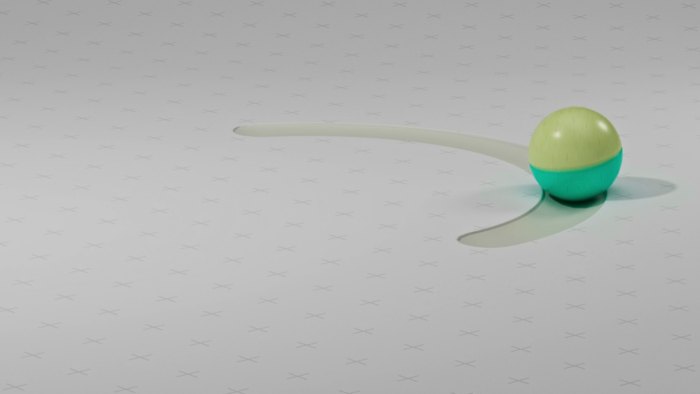
We’re thrilled to have Andreas Catucci as a guest! Somehow aside from creating amazing work, he managed to record a video on a technique very dear to our hearts: Dart throwing. Sounds like simulating aerodynamics? Not quite. It’s a method to densely pack a surface […]
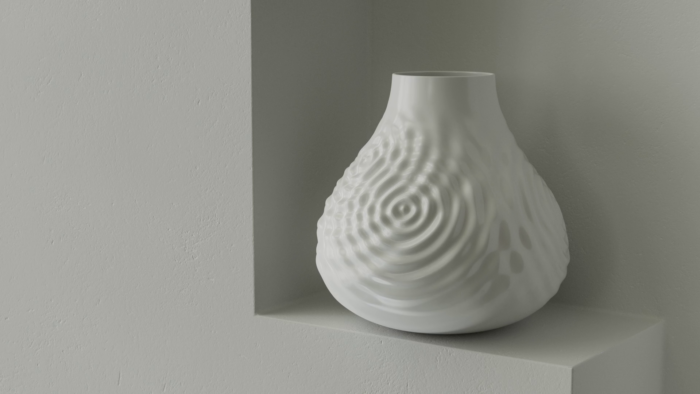
Interference Patterns On Surfaces
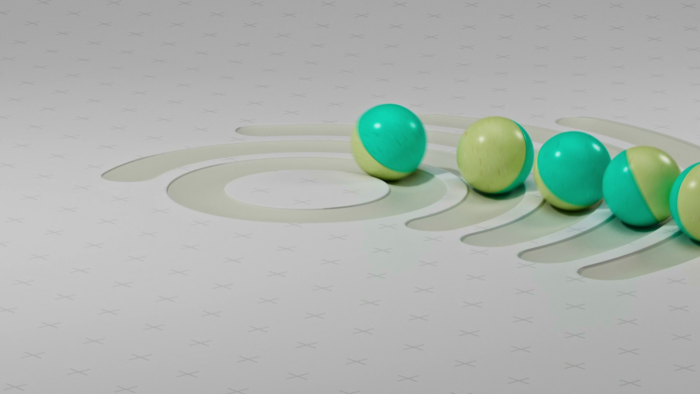
Today we’re revisiting an old setup of ours: Creating intricate interference patterns using circular waves. Time has passed since Mo built the first version of this in 2018 and now, with Houdini 19.5, we got a new node that finally allows us to calculate those […]
Paper Folding with Vellum
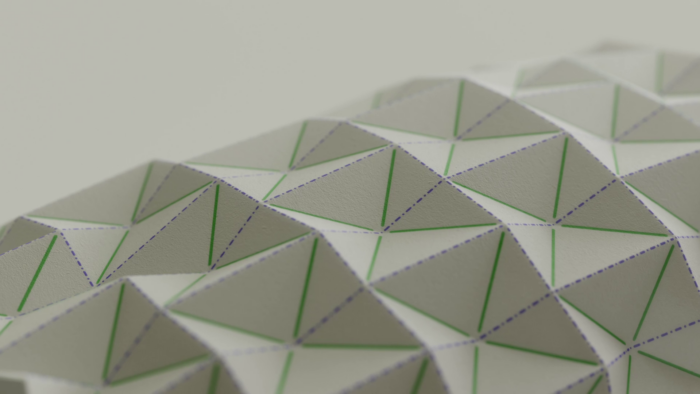
In this video Chris covers a simple way of simulating origami like patterns in Houdini and Vellum, just using edge groups and (depending on how you count them) three or six lines of vex. We can very much recommend watching Junichiro Horikawa’s previous explorations on […]
Simulating a Belt Adjuster in Vellum
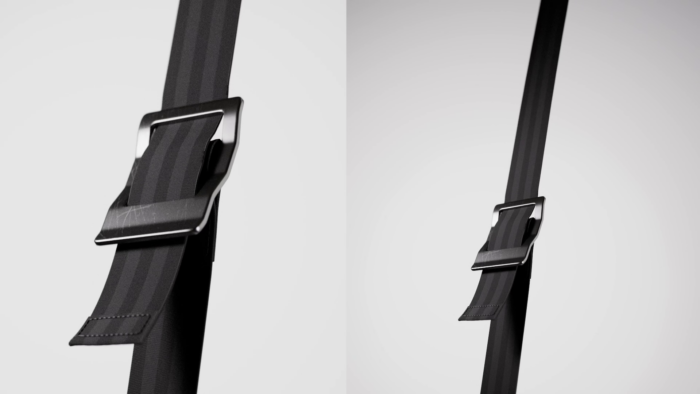
There are some setups that start out looking quite easy and then get harder the more you start thinking about them. And this belt adjuster is one of them because we got quite a few elements interacting with each other. As usual with Vellum, the […]
Building a Latent Space in Houdini: Part 1 – Theory
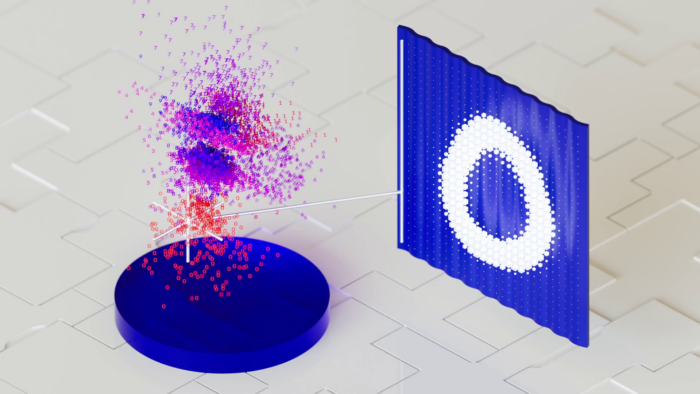
This week we want to give you a lot more insight into what a latent space actually is and how it gets created. In this case not by using Stable Diffusion, but by building and training our own neural net inside Houdini, who’s only job […]
Strange Forests: Creating 2.5D Images with MLOPs and Faking DOF in Pointclouds
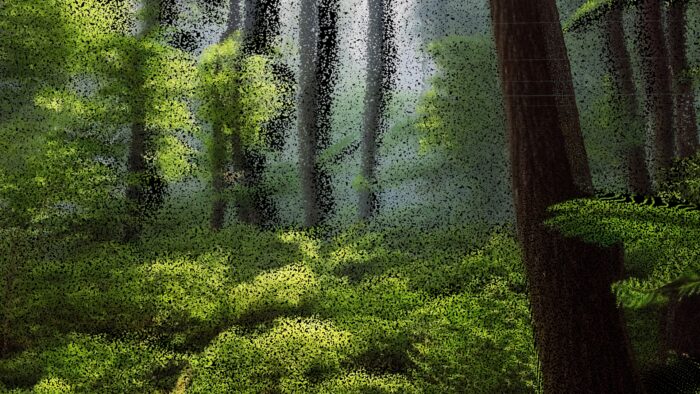
Now that MLOPs is released and available for everyone, let’s create some motion graphics using those new tools and combine them with other workflows we already know from Houdini. In this video Chris shows you how he created these strange forest renders while beta-testing MLOPs […]
Simulating Curling Ribbons in Vellum
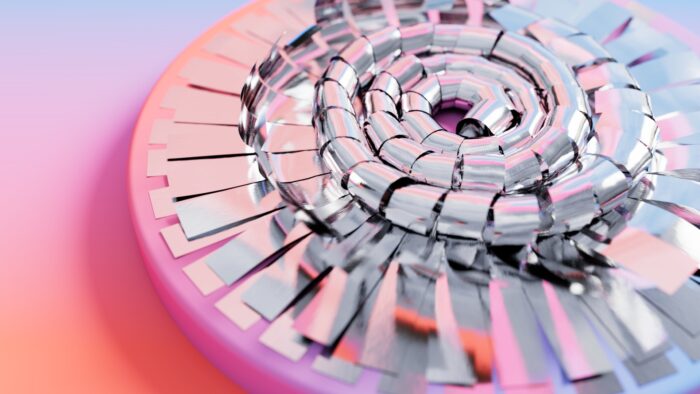
The idea for this video came from a question on our Patreon Community Hub, asking us how we’d go about creating curling ribbons in vellum, similar to a very beautiful setup by Playback Design. And, as it turns out, this is a quite fun and […]
DIY Rendering Engine Like It’s 1975
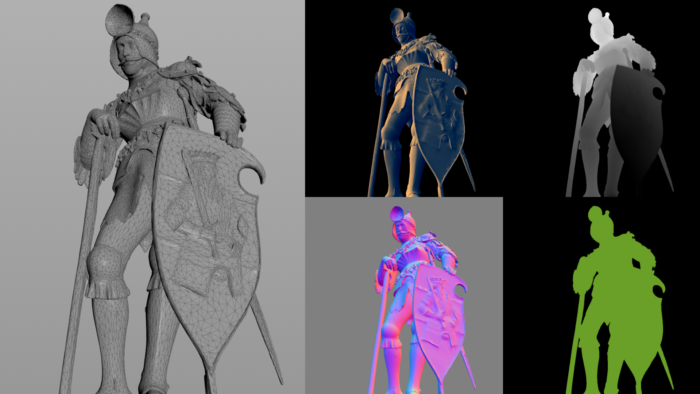
What do you do when you need fast info passes rendered out but are too stupid to set up something in ROPs and too lazy to use Solaris? Right – you build yourself a 1970s render engine straight in SOPs. Clever? Not sure. Useful? Definitely. […]
Creating Escher Inspired Tiling Tesselations
Jeroen Claus happens “to know a particular kind of software that’s pretty good at applying a set of geometrical rules.” So he sets out to take you on a journey of building Escher inspired tesselations. Download Project Files (.hiplc)
Creating an AI Chimera Using Stable Diffusion
We continues poking into stable diffusion by giving a brief overview of what tokens and embeddings are and how the can be manipulated to blend between prompts. Finally we create some nonsensical animals. Huge thanks to Chris Hoffmann (ugly stupid honest) Notebook: Stable Diffusion Deep […]
Houdini Tutorial: Waddington Landscape
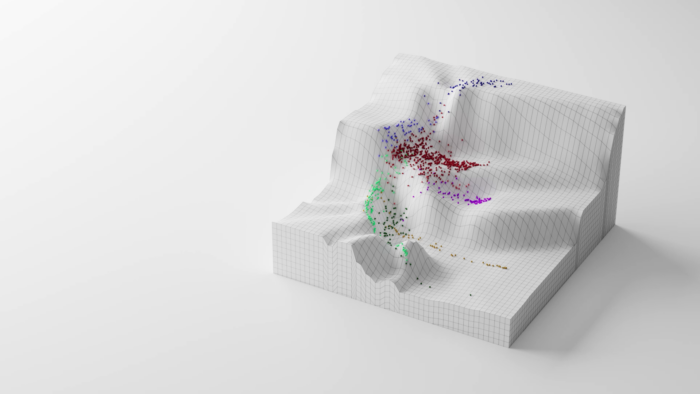
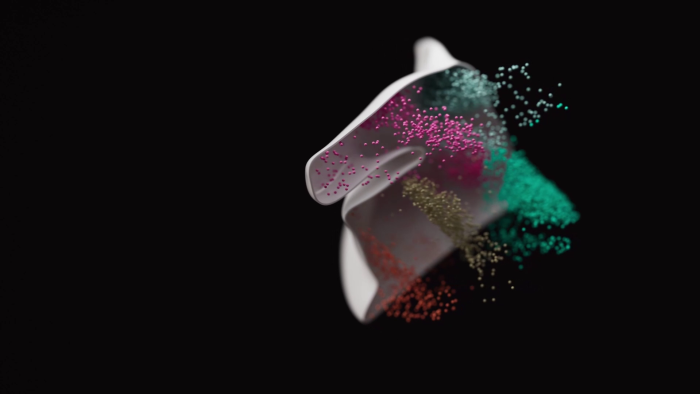
We are very excited to host our dear friend Dr. Jeroen Claus with a very special tutorial. He’s been working together with Tape Lab, UCL Cancer Research’s Cell Communication Laboratory, to visualise data from their study A Single-cell Perturbation Landscape of Colonic Stem Cell Polarisation, […]
Guest Course: Creating a Rolling Objects Solver – Part 7
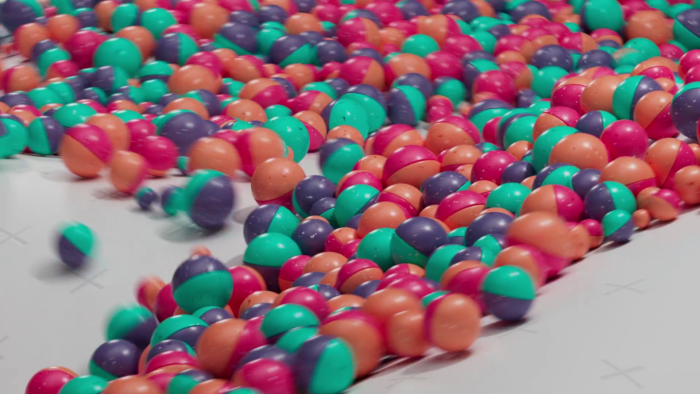
In part seven of our free course on building a rolling object solver, Bastian J. Schiffer extends our solver to take into account random initial rotation and so it works with cubes instead of tubes. Download Project Files
Guest Course: Creating a Rolling Objects Solver – Part 6
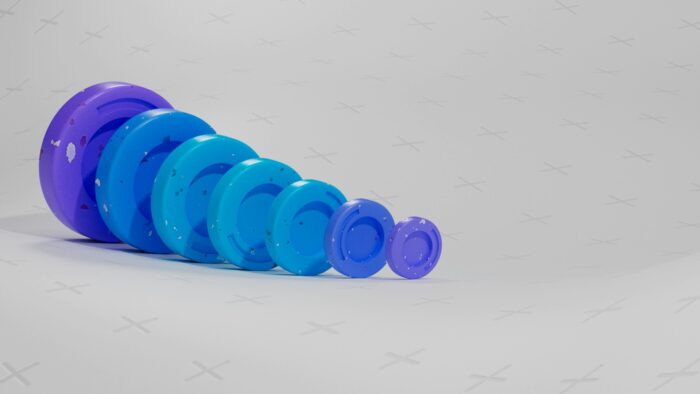
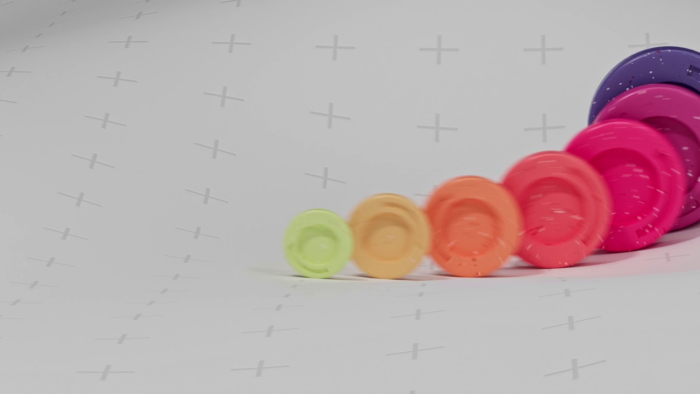
In part six of our free course on building a rolling object solver, Bastian J. Schiffer modifies our solver so it works with discs instead of spheres. Download Project Files
Guest Course: Creating a Rolling Objects Solver – Part 5
In part five of our free course on building a rolling object solver, Bastian J. Schiffer modifies our solver to work with POP particles. Download Project Files
Guest Course: Creating a Rolling Objects Solver – Part 4
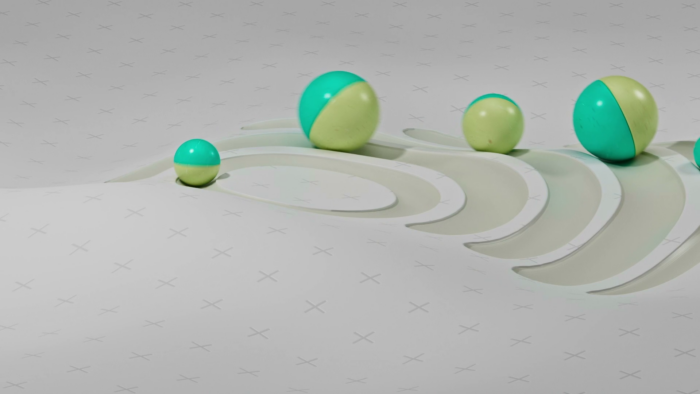
In part four of our free course on building a rolling object solver, Bastian J. Schiffer goes over how to use our setup to have objects rolling across displaced surfaces. Download Project Files
Guest Course: Creating a Rolling Objects Solver – Part 3
In part three of our free course on building a rolling object solver, Bastian J. Schiffer covers how to apply our solver to multiple elements at once. Download Project Files
Guest Course: Creating a Rolling Objects Solver – Part 2
In part two of our free course on building a rolling object solver, Bastian J. Schiffer starts building the actual solver. Download Project Files
Guest Course: Creating a Rolling Objects Solver – Part 1
View Full Course Here Please welcome our friend Bastian J. Schiffer who generously agreed not only to do a guest tutorial, but a full seven part course! In this begintermediate course, he is going to take you through the steps necessary to build a solver […]
Stable Diffusion & OpenCV for Face Detection and Automatic Compositing
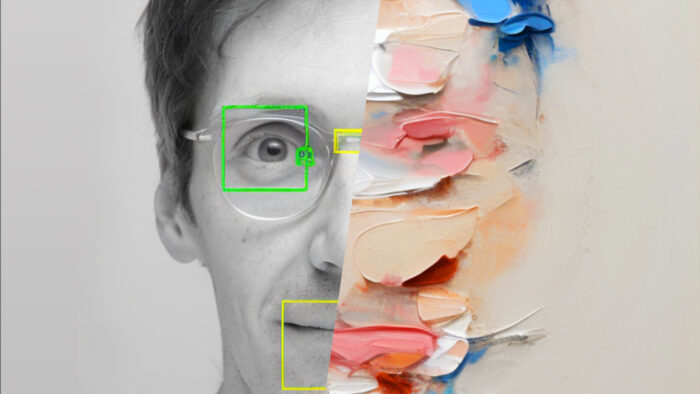
Ever wondered what to do with your overfitted neural networks that seem to be good at generating exactly one thing? In this video, Mo has a suggestion: Augment it with a bit of OpenCV and use it to automatically detect facial features in an input […]
Geometry Nodes Simulation: Relax Points
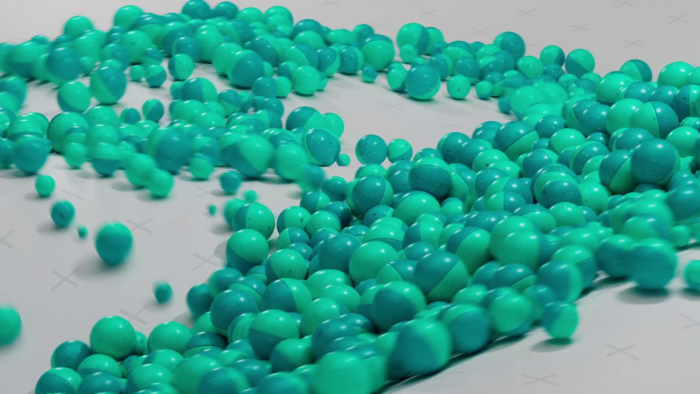
Often you’ll need point distributions with non-overlapping points. Be it that you want to pack scales onto the surface of a fish or distribute vegetation on your procedural terrain. Although the “distribute points on faces” node comes with a poisson disc mode to remove overlapping […]
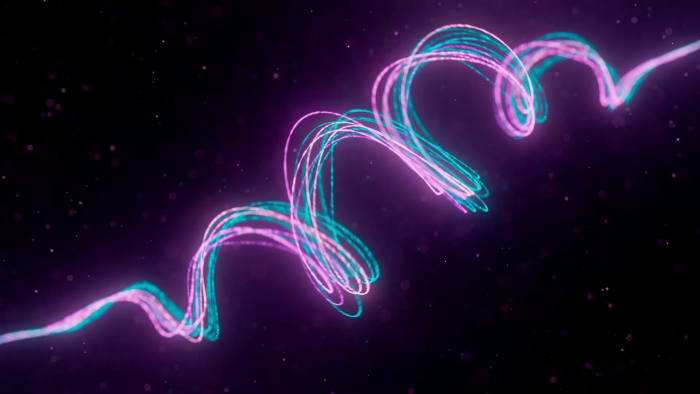
Houdini Guest Tutorial (Simon Fiedler): Easy Energy Spirals
Please welcome our Friend Simon Fiedler to a guest tutorial. He generously agreed to share a quick and easy production setup he built for a recent project: Energy spirals with a high degreed of art directability.
WebUI + Houdini Tutorial: Generating And Using AI Depth Maps
Mo goes over how to generate a depth map from a single image and use it in Houdini’s Karma XPU to render a relief like geometry. Download Project Files: https://www.entagma.com/downloads/AI_Houdini_depthmap.zip
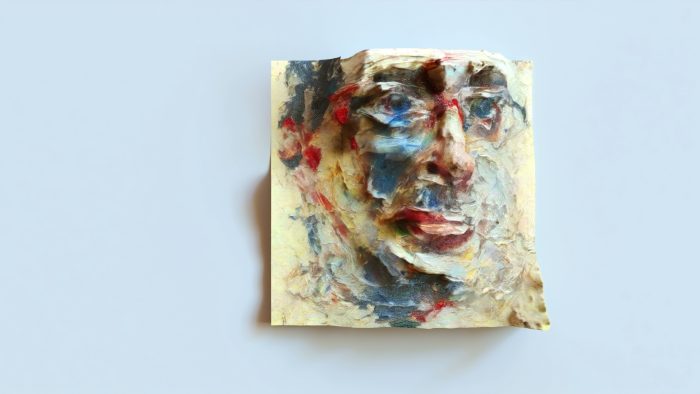
Creating AI Portrait Pictures using Stable Diffusion and Dreambooth
After installing the stable diffusion webui (https://youtu.be/cL_ZYdkIqBU), Mo goes over how to train an AI model to generate portraits of your face using dreambooth. Stable Diffusion webUI:https://github.com/AUTOMATIC1111/stable-diffusion-webui
Stable Diffusion 2.0 Quickstart
It’s come so far that even Mo couldn’t ignore AI any longer, so he reluctantly started diving into diffusion models. When he emerged a month later (and very unkempt) this is what he found out. This tutorial covers installing Stable Diffusion 2.0 using Automatic1111’s webUI, […]
Geometry Nodes Simulation: Advect by Curl Noise
Simulation inside of Geometry Nodes is finally possible with this “buffer” hack. After setting up the sim environment, Manuel explains to you what the curl of a vector field is all about and implements a version of curl noise to drive some simulated particles. Download […]
Connect The Dots with Geometry Nodes, The “Plexus” Effect
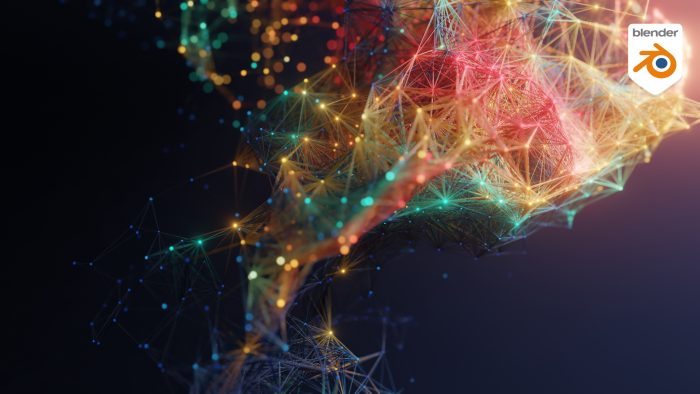
This time we’ll create the “plexus” effect with Geometry Nodes inside of Blender. Manuel shows you how to abuse geometry to fake a loop, that tests all connections between the points of an incoming point cloud and compares their lengths. Then, only the ones are […]
Chainmail Part 2: Deform the Chainmail Using UVSample
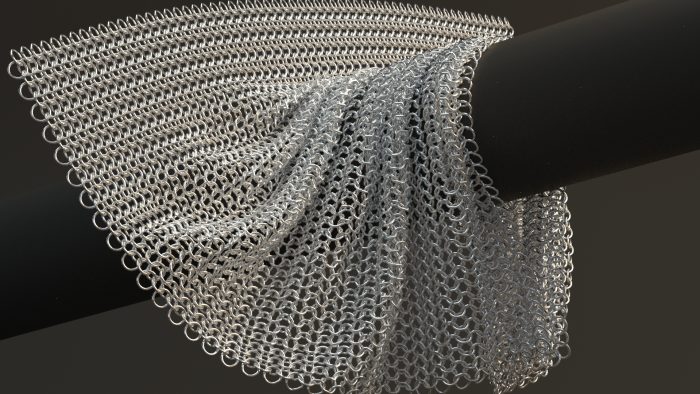
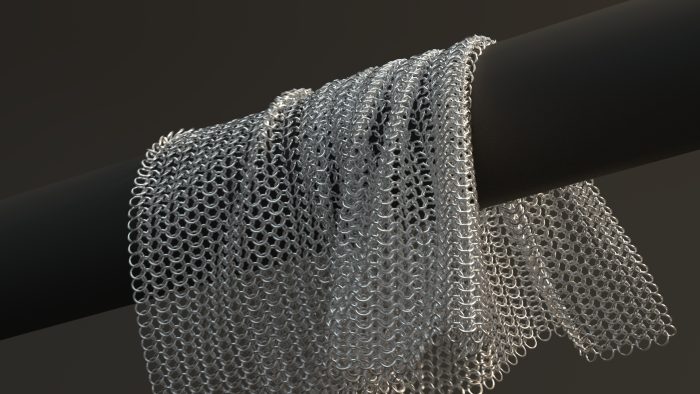
In this second part of the chainmail tutorial Manuel shows you how to create a Vellum cloth sim and how to attach the chainmail geo to the simulated cloth using the VEX function UVSample(). Download Project File
Chainmail Part 1: Creating a Procedural Chainmail Pattern
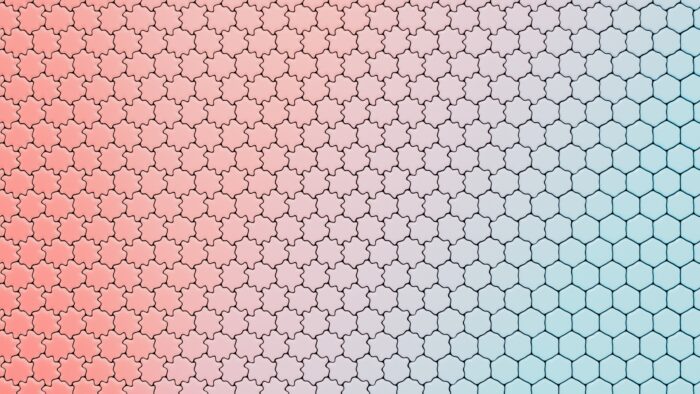
In this first part of the chainmail tutorial Manuel shows you how to create procedural chainmail instancing real geometry onto a procedural hex pattern created with VOPs. Download Project File
Quick Tip: Setting Up A Default Scene In Houdini
Mo is back from berlin where he spent a few days with Colors And The Kids One of the questions tackled there was how to set up a scene file that’d automatically load when Houdini started up. Turns out Houdini looks for a few script […]
Advanced Setups 19 – Jeroen Claus: Dataviz Excursion – K-means Clustering Explained
Thrilled to have Jeroen Claus back for a series on popular algorithms used in data analysis and visualisation. In this first (free) episode he’ll take you through what k-Means clustering is and how it works. Download Project File (.zip)
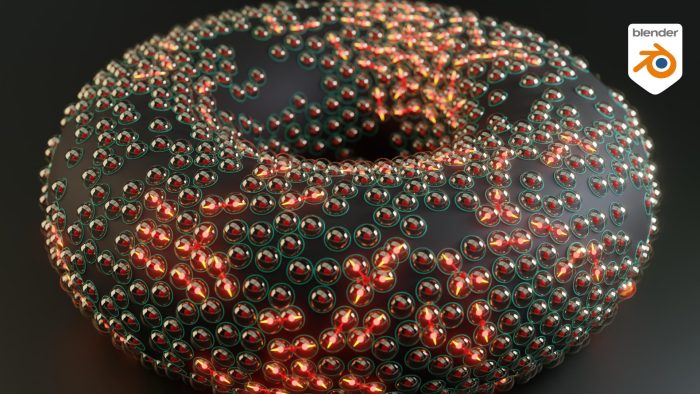
KarmaXPU Quickstart Pt.4: Excursion – Visualizing Lipid Membranes
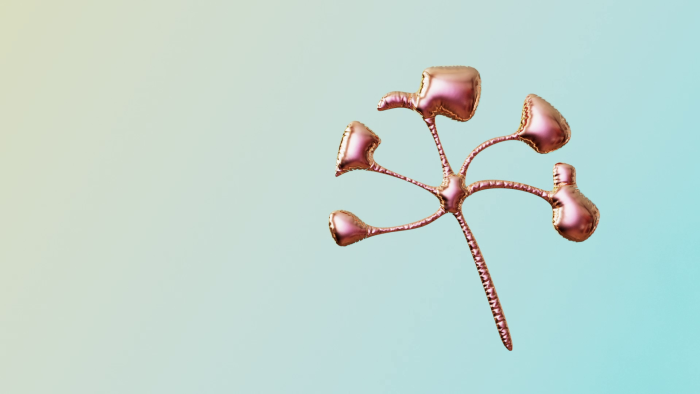
Notes:– I’m recommending to stay away from refractive materials in rendering. This is due to the fact of this particular group of students having limited rendering resources. If however you have those resources, go wild! Mo had the pleasure of joining Dr. Jeroen Claus of […]
KarmaXPU Quickstart Pt.3: Excursion – Visualizing Proteins
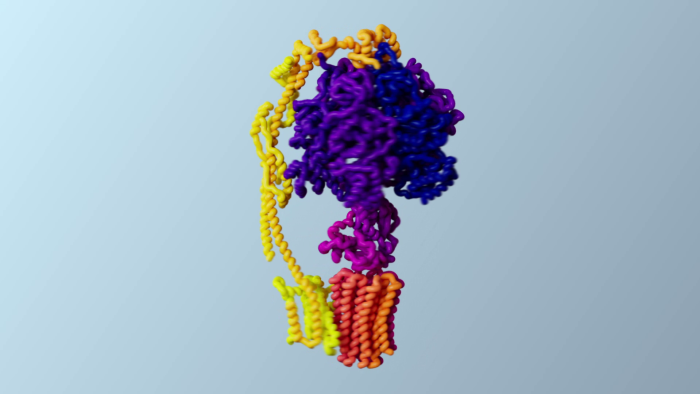
Notes:– It *could* be that 1 Houdini unit = 1 angstrom (which is 0.1 nm)– I’m recommending to stay away from refractive materials in rendering. This is due to the fact of this particular group of students having limited rendering resources. If however you have […]
KarmaXPU Quickstart Pt. 2 – Custom Attributes, Subsurface Scattering
Continuing with our KarmaXPU quickstart, this video covers reading custom attributes into a MaterialX shader and using it to drive the look of our material’s subsurface scattering. Download Project File
KarmaXPU Quickstart Pt. 1 – Basic Lighting, Shading & Rendering
In this tutorial we’ll shade, light and render the geometry we created in our previous tutorial, inspired by Alex Valentina’s Work for Form Mag. We’ll be setting up a simple scene graph in solaris, import and light our geometry using an HDRI and then spend […]
KarmaXPU Quickstart Pt. 0 – Creating Our Test Geometry
It’s finally time we talk about Karma again. Nope not your spiritual system, but Houdini 19.5’s built in new’ish rendering engine. It’s been making quite fast progress since the time it’s been released a few versions back, so in our opinion with KarmaXPU being in […]
New In Houdini 19.5 Pt 4: SOP FLIP Fluids
One of the major milestones in Houdini 19.5 is the SOPification of FLIP fluids – allowing for a much more streamlined setup of fluid simulations. In this video Mo goes over the basics of the new workflow, including custom viscosity and density for our liquid. […]
New In Houdini 19.5 Pt 3: Shallow Water Solver (Plus KarmaXPU)
Mo is going to SIGGRAPH – and he’s running late. So this text admittedly is very brief. In this video we’re gonna (ab)use Houdini’s new shallow water solver to create this abstract streamline animation. Download Project File
New In Houdini 19.5 Pt 2: Karma XPU Beta (MaterialX, Solaris)
Mo visited the Art Gallery of Ontario and got inspired. In This video he’s using Solaris, Karma XPU and MaterialX to shade and render the sculpture created in this tutorial. Download Project File
New In Houdini 19.5 Pt.1: Tangent Fields (And a Bit of VEX)
Mo visited the Art Gallery of Ontario and got inspired to test drive one of the hidden gems in Houdini 19.5 – Tangent Fields. Download Project File
Better Texture Tiling
Even if you have a perfect tilable texture with seamless borders you often run into problems when tiling the same texture often to cover large areas. If your texture happens to be irregular you might want to give this tiling trick a try to make […]
Procedurally Create Detroit Agate with a Karma Shader
If layers over layers of car paint accumulate in the factory over the years they create grey rocks with magic hidden inside. Once you start to cut and polish these rocks all the individual color layers are revealed and create a color explosion. In this […]
Procedural UV Unwrapping with Geometry Nodes
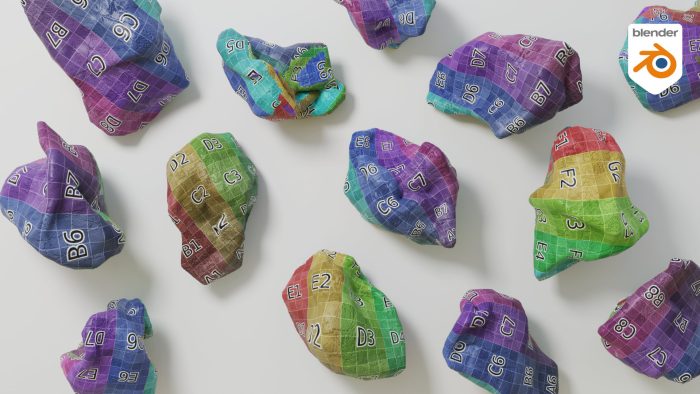
This tutorial uses Blender 3.3 Alpha. You can get this version from here: Download Experimental Builds Blender 3.3 Alpha adds nodes for procedural UV unwrapping. In this quick tip tutorial Manuel explains one way of using the new feature on some procedurally built rocks.
